Looker
You don't have to switch your whole Looker instance over to Yuki at once. Routing is controlled per user or group, so you can try Yuki with a small set of users, check performance and results, and then roll it out to everyone.
This works because Looker lets connection settings reference user attributes. Instead of hard-coding the BigQuery endpoint, the connection's JDBC rootUrl parameter is set with Liquid templating, so each user's attribute value decides whether their queries go directly to BigQuery or through Yuki.
Step 1 - Create a user attribute
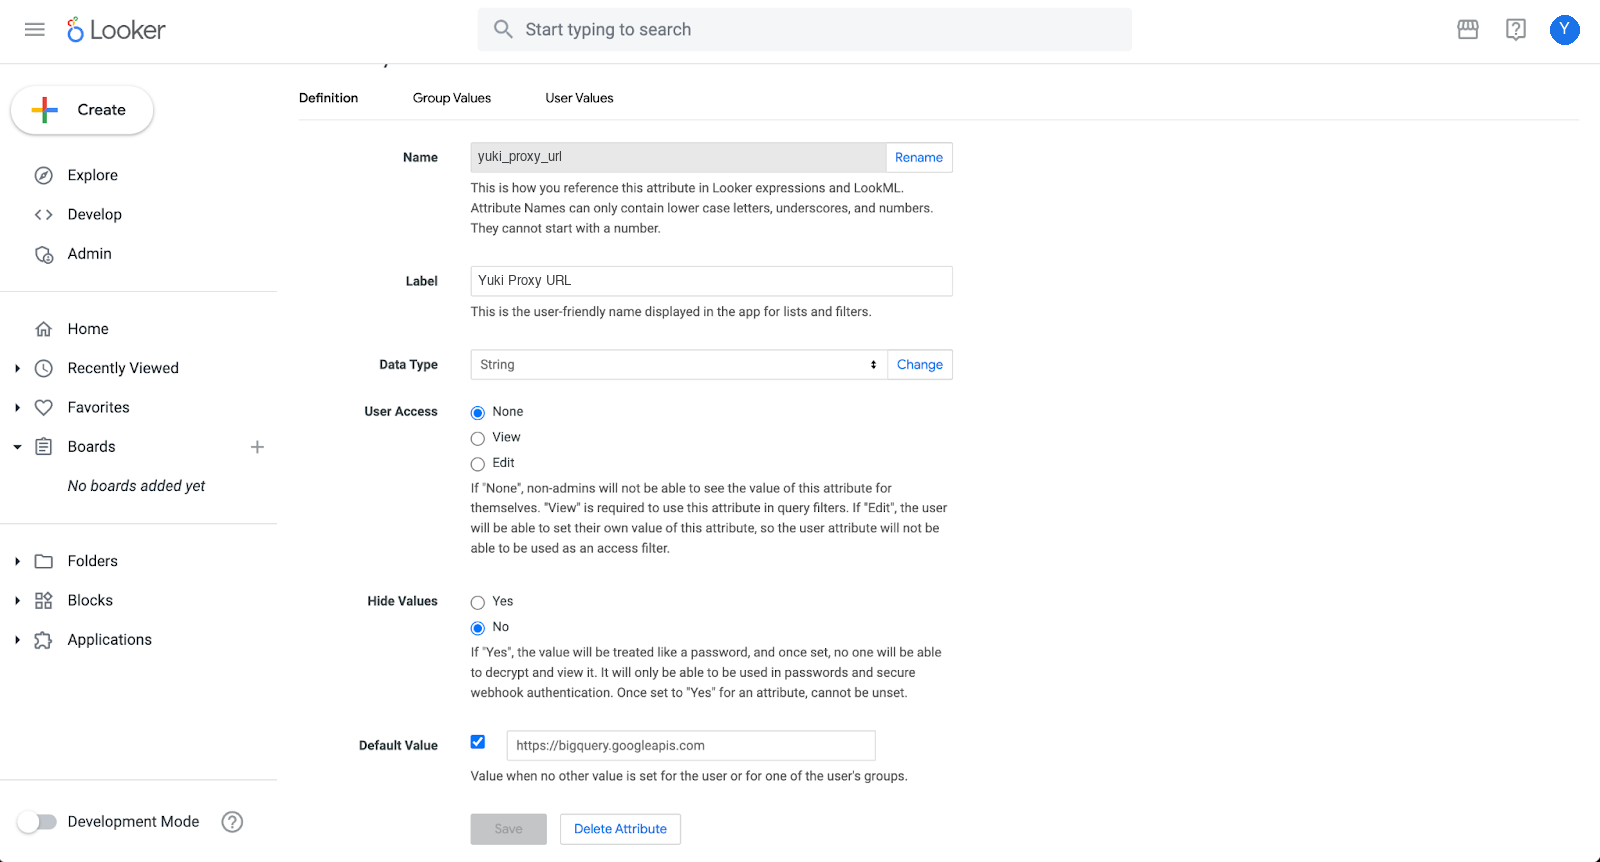
Open https://<your-looker-instance>.cloud.looker.com/admin/user_attributes and create a new user attribute with the following settings:
| Setting | Value |
|---|---|
| Name | yuki_proxy_url |
| Data Type | String |
| User Access | None |
| Hide Values | No |
| Default Value | https://bigquery.googleapis.com |
Click Save. Because the default points to BigQuery, nothing changes for your users yet.
Step 2 - Assign the Yuki proxy URL to a test user or group
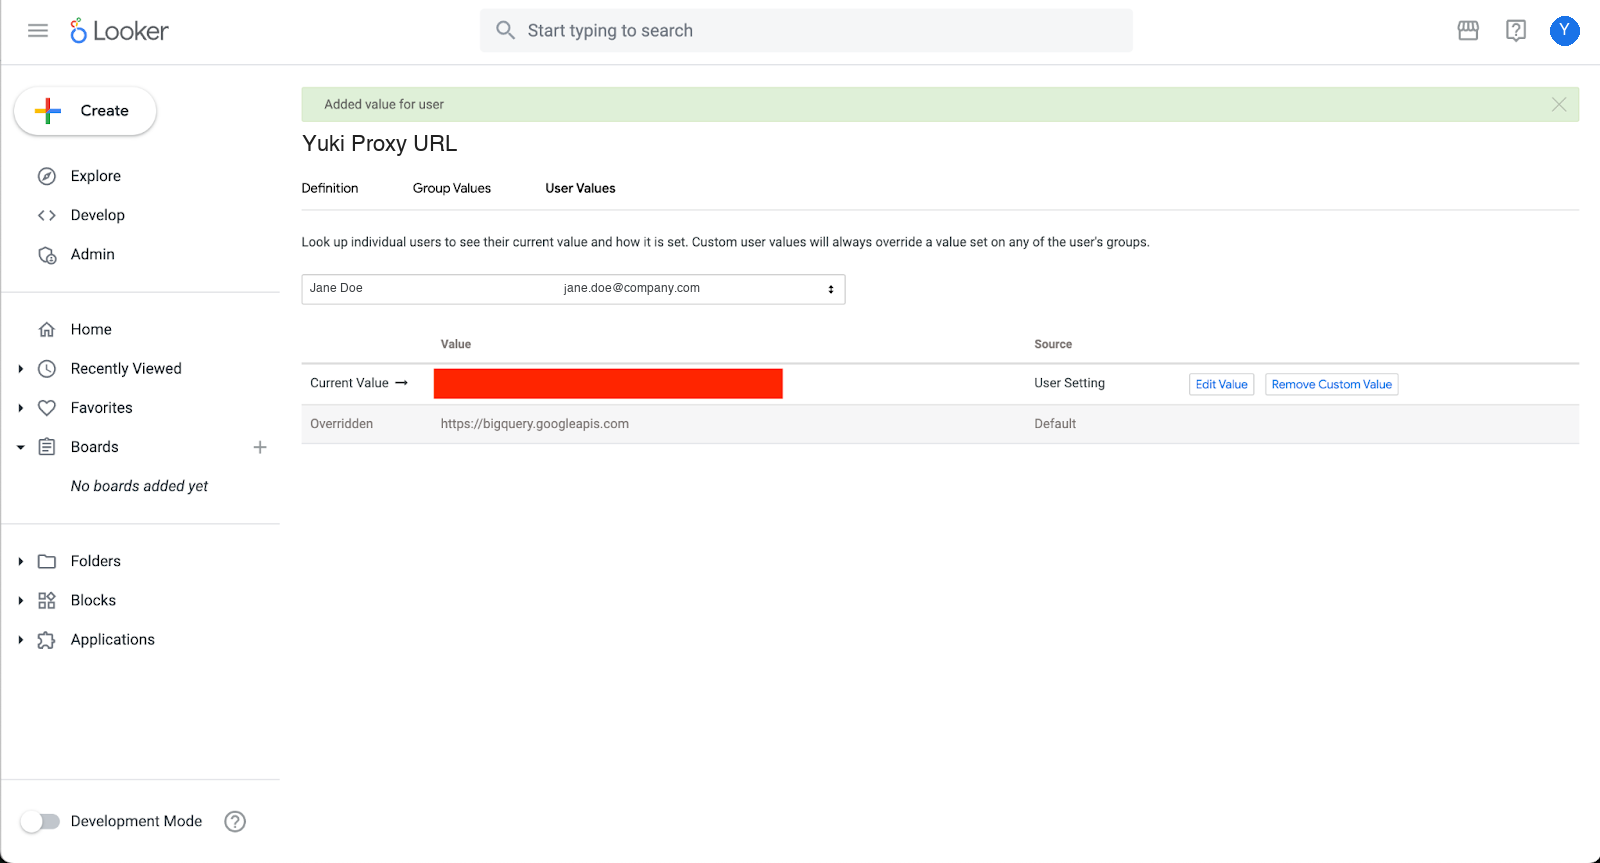
After saving, the Group Values and User Values tabs become available. Pick the user or group you want to test with and set their value to your Yuki proxy URL:
https://<your-yuki-proxy>
Make sure the URL starts with https://. See the Looker documentation for more on managing users and groups.
Once saved, the custom value overrides the default for that user:
Step 3 - Reference the attribute in your BigQuery connection
Go to Admin > Connections and edit your BigQuery connection:
https://<your-looker-instance>/admin/next/connections/<connection-id>/edit
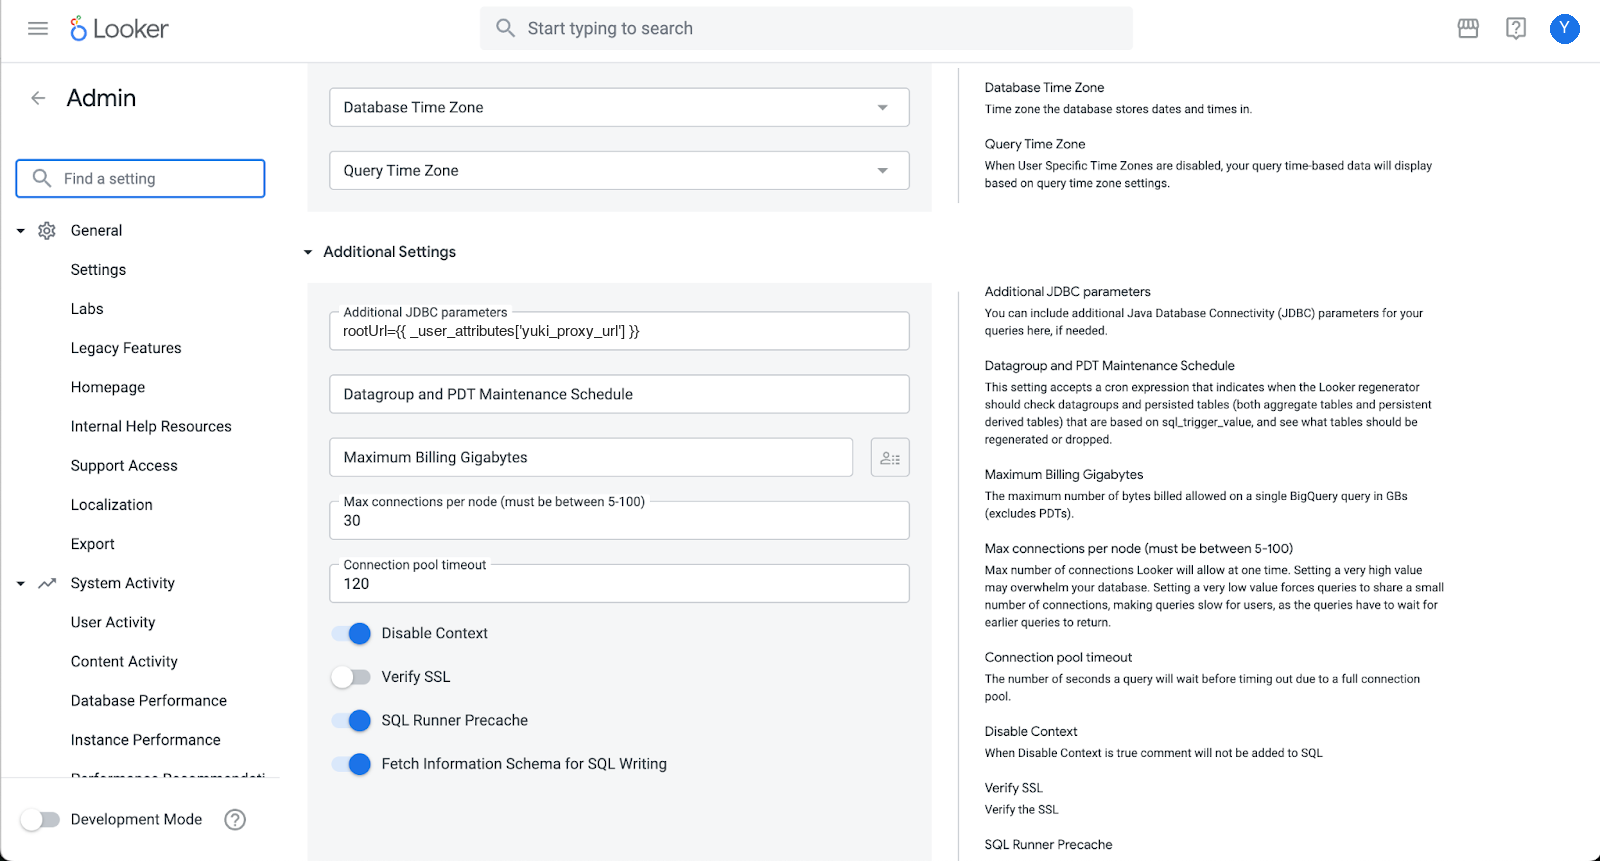
Under Additional Settings, set Additional JDBC parameters to:
rootUrl={{ _user_attributes['yuki_proxy_url'] }}
The connection now reads the endpoint from yuki_proxy_url, so users and groups you assigned in Step 2 are routed through Yuki and everyone else keeps going straight to BigQuery.
Step 4 - Re-authenticate the connection
Editing the connection requires you to authenticate it again. Under Authentication Settings, upload your service account certificate (JSON or P12) or enter your OAuth credentials, click Test to confirm the connection works, and then Save.
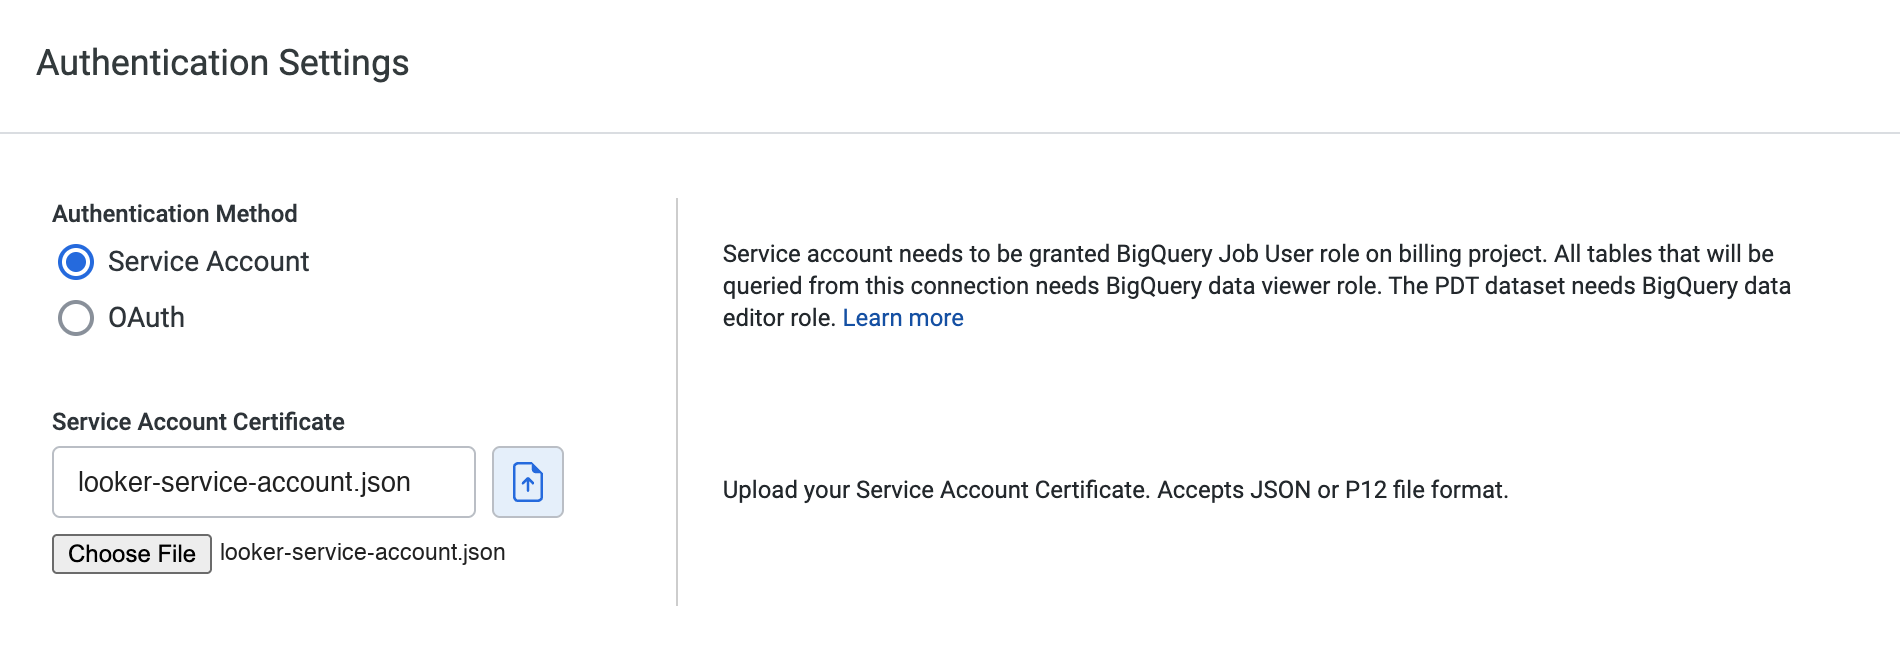
This is the service account Looker already uses to query BigQuery in your GCP environment - not the service account you granted to Yuki. If you're unsure which credentials to use, reach out to your Yuki team before making changes.
Step 5 - Roll out to all users
When you're satisfied with the results from your test users, go back to the yuki_proxy_url attribute, open the Group Values tab, select All Users, and set the value to your Yuki proxy URL:
https://<your-yuki-proxy>
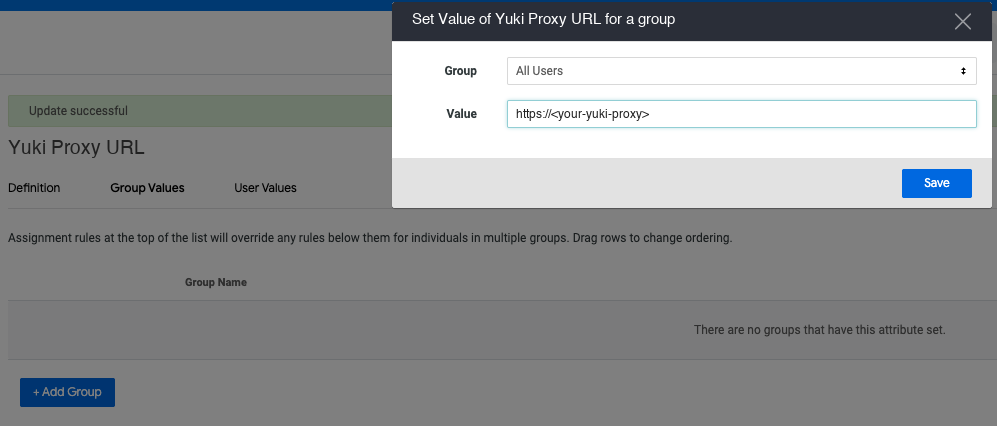
All Looker queries on this connection will now run through Yuki.
To roll back at any time, remove the group or user values - Looker falls back to the default https://bigquery.googleapis.com and queries go directly to BigQuery again.