Getting Started
Welcome! This guide explains how to begin using Yuki to optimize your Snowflake environment.
info
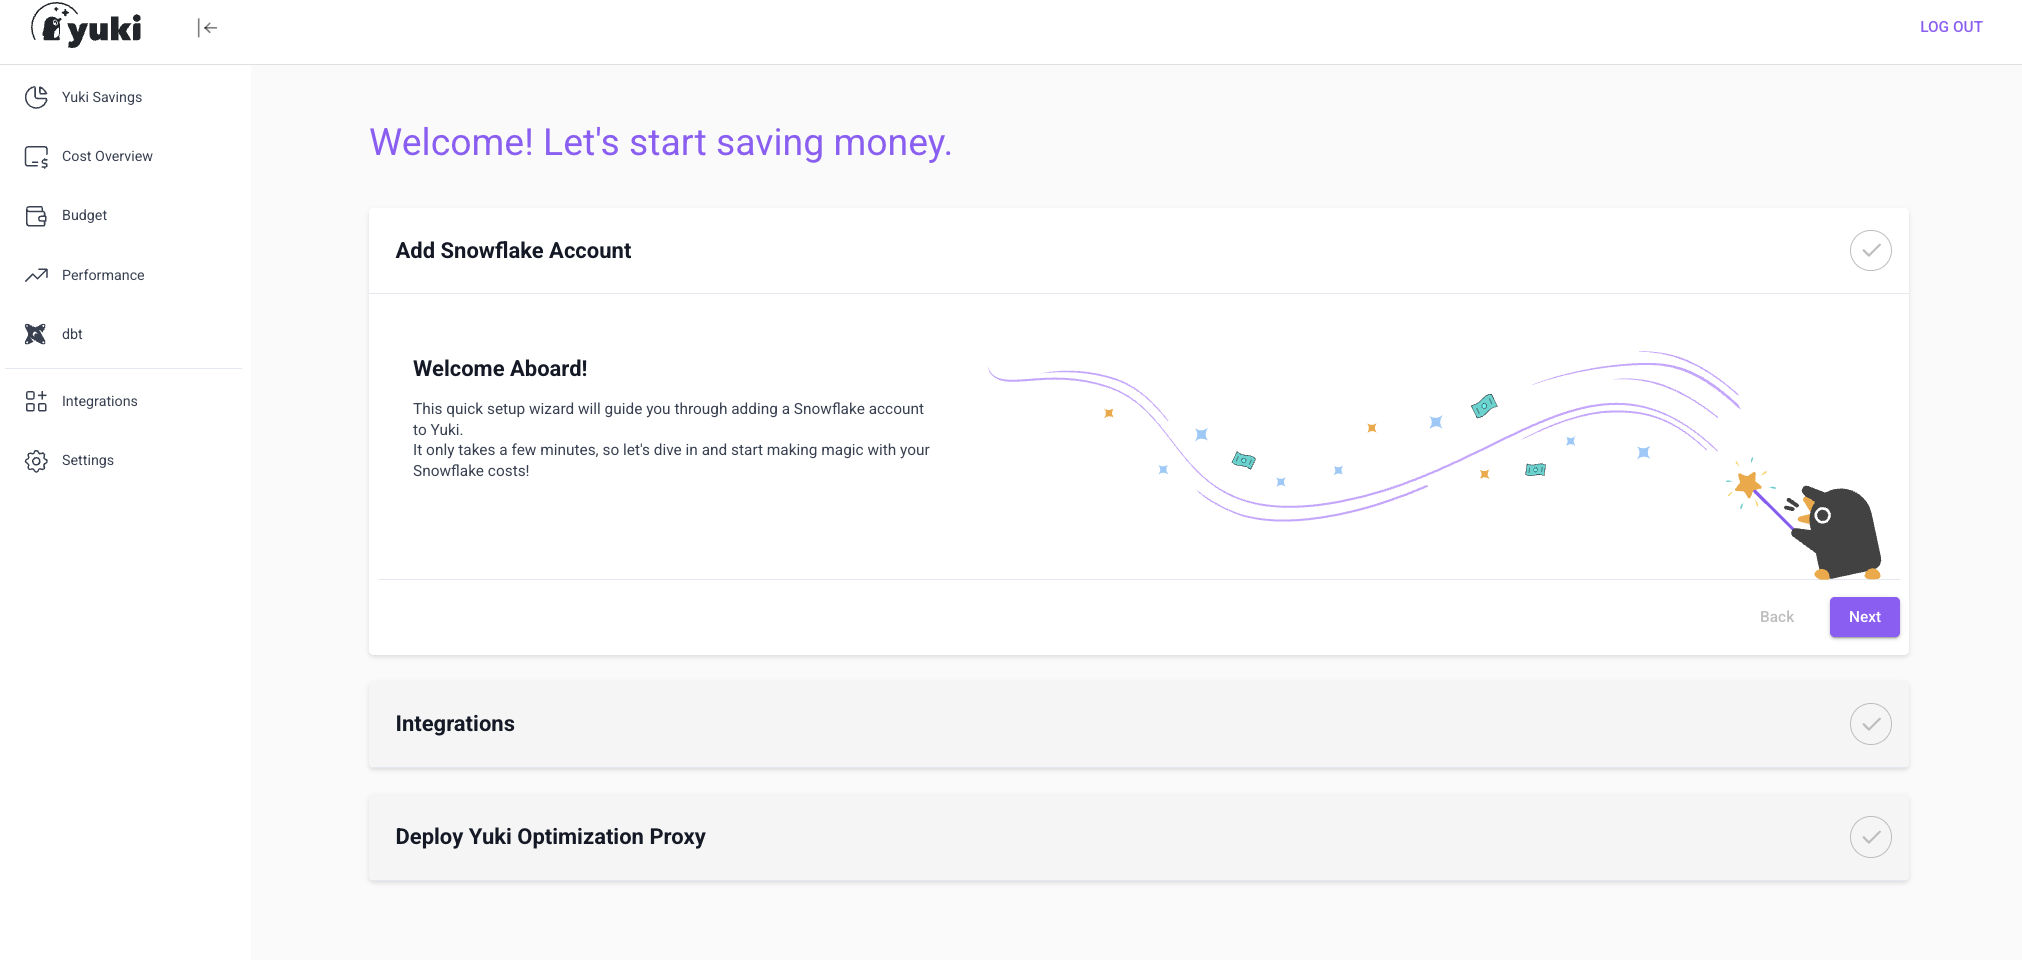
You don't need to run these steps manually - our onboarding wizard will walk you through each step.
What You'll Need
- Your Snowflake Account Identifier, Region, and Edition
- Snowflake
ACCOUNTADMINcredentials - (Optional, for hybrid deployments) See prerequisites in Terraform Deployment
What the Setup Does
Once complete, Yuki will:
- Have secure service-user access to your Snowflake account
- (If hybrid) Run the Yuki Proxy inside your environment
- Be able to automatically route queries for optimal cost and performance
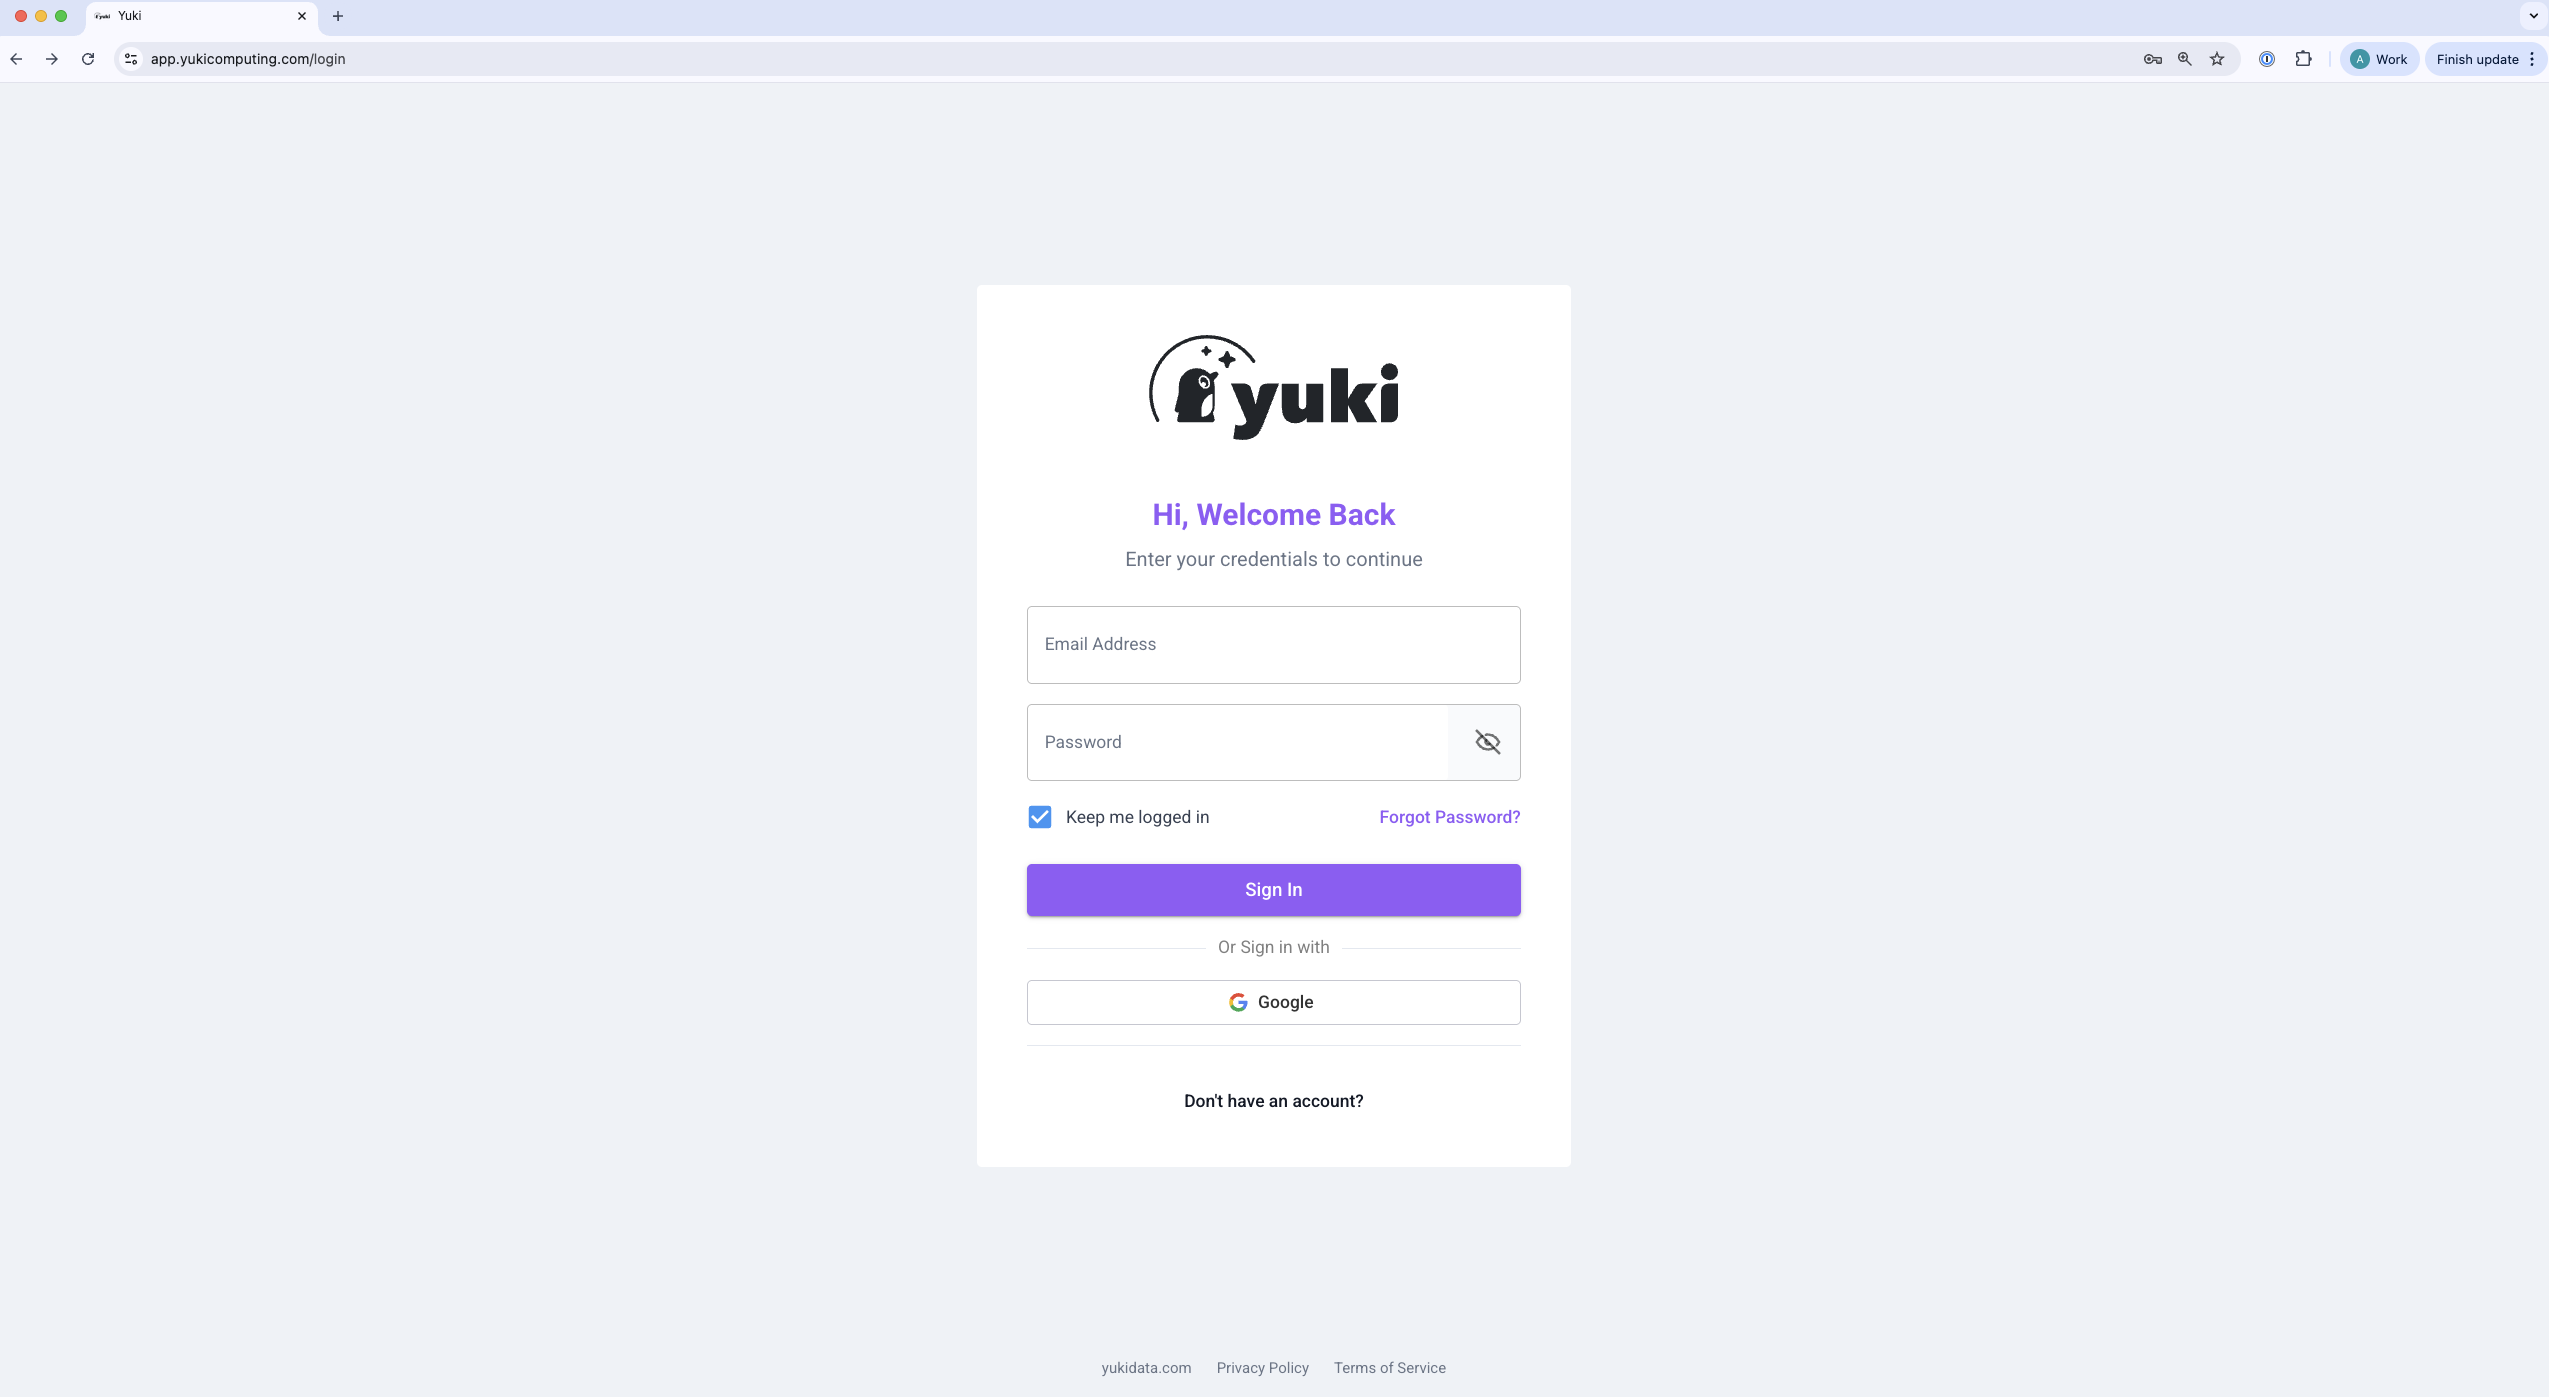
First Step: Create Your Yuki Account
- Go to https://app.yukicomputing.com/login
- Enter your details, including the Key you received via email
- Sign in to your new Yuki account
Setup Checklist
| Step | Description |
|---|---|
| 1 | Grant Yuki access - create a service user, role, and key-pair so Yuki can connect securely |
| 2 | Add Integrations - define which tools, warehouses, and users Yuki should optimize |
| 3 | Configure Permissions - control which Snowflake roles can access Yuki warehouses |
| 4 | Deploy the Yuki Proxy - via Helm, Terraform, or Fully Hosted |
| 5 | Update Connection Strings - route your tools through the proxy |
Next Step
Proceed to Grant Yuki Access to Your Snowflake Account.